 |
 |
 |
 |
 |
 |
|
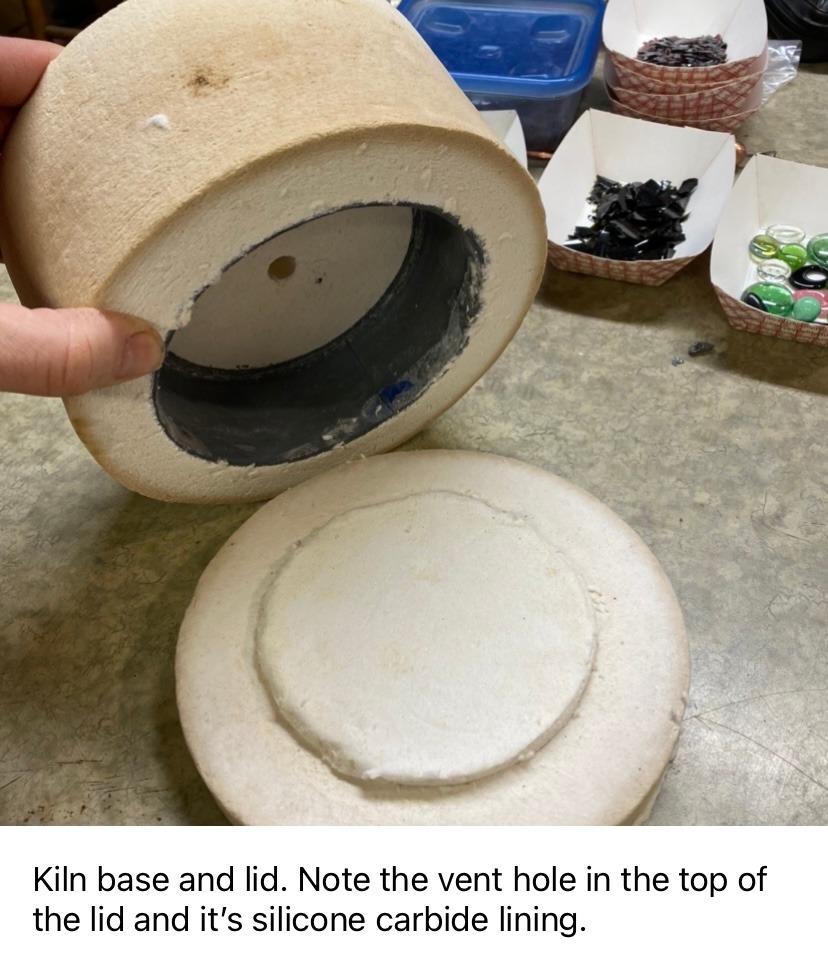
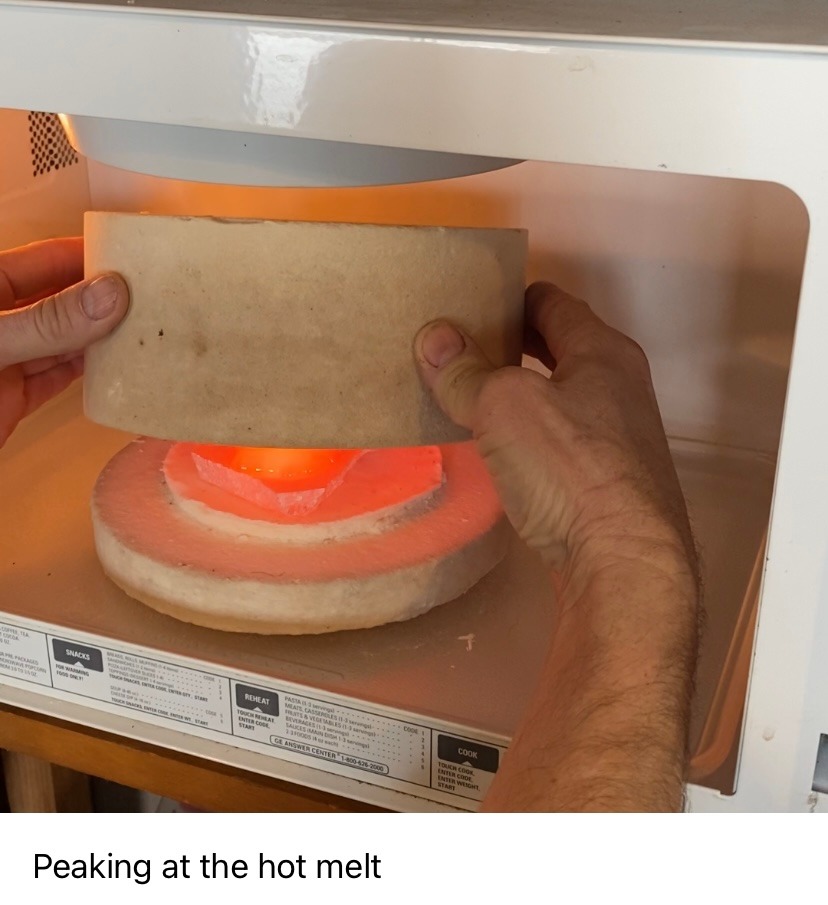
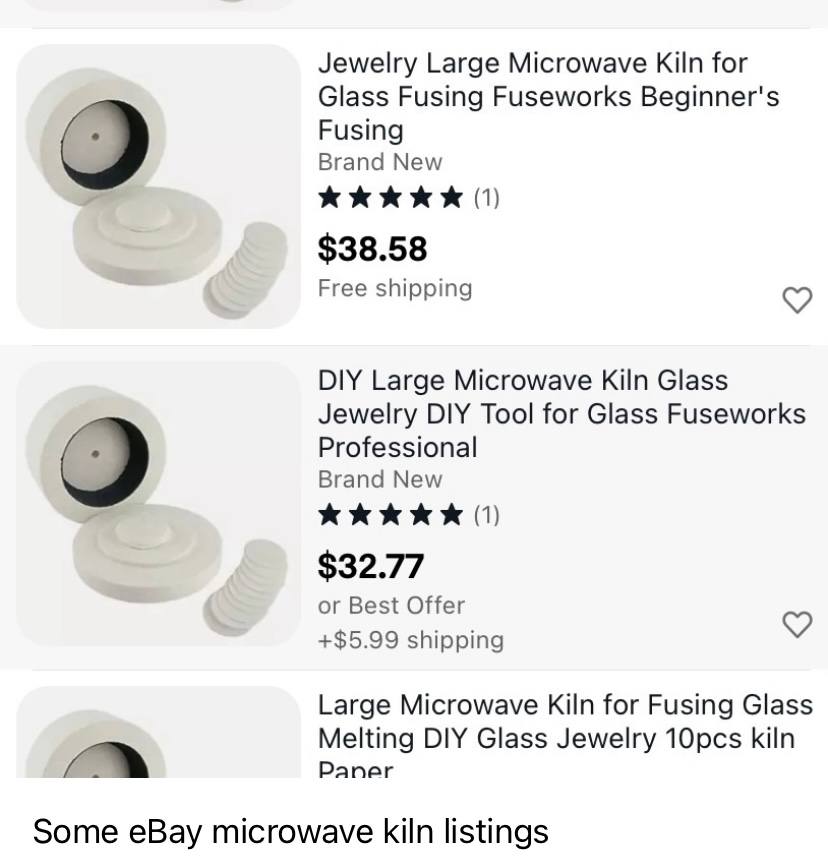
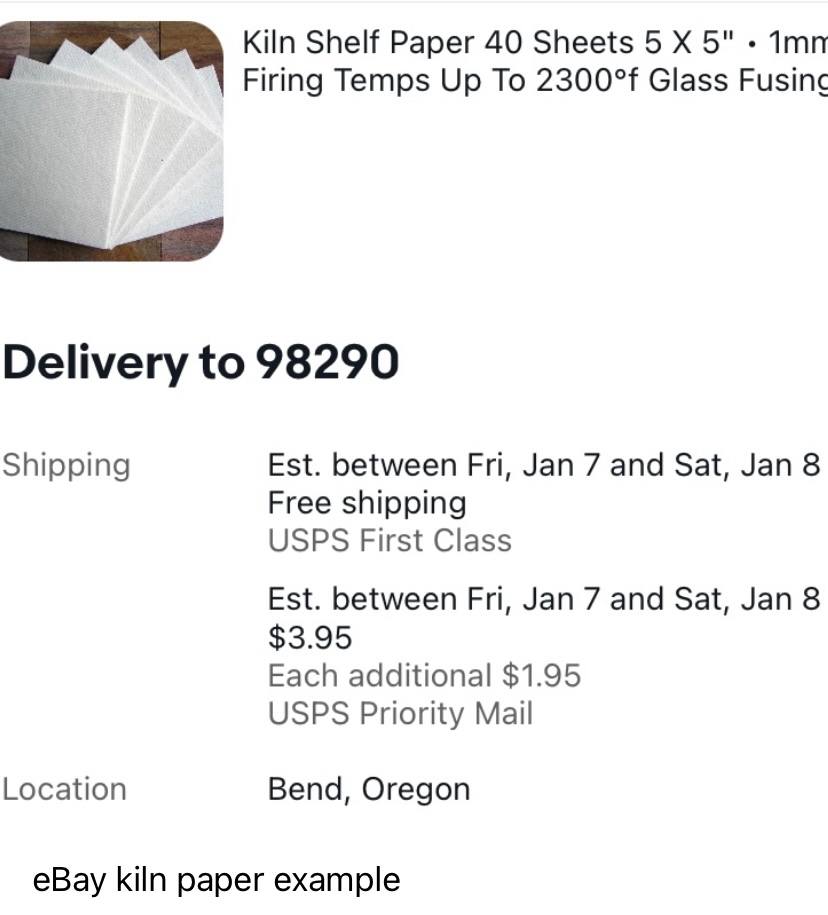
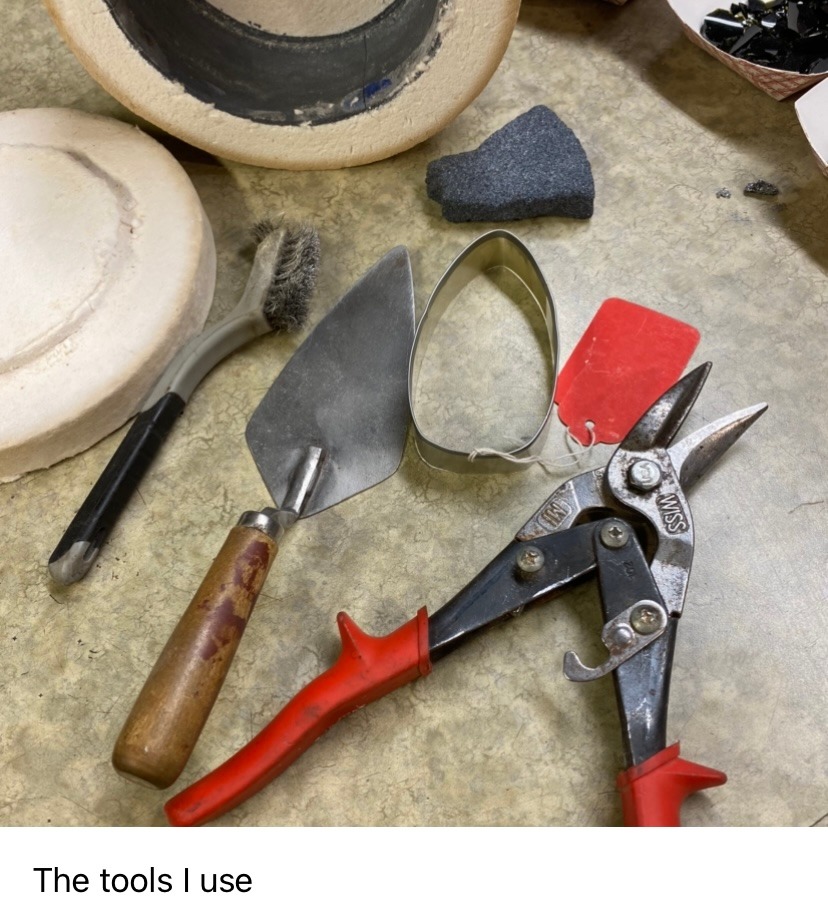
Making Glass Knapping Blanks Using a Microwave Kiln By Ken Graham How It Works Yes, glass can be melted in a standard microwave oven. True, glass does not absorb microwave energy directly, but glass, or anything else, can be indirectly heated by placing it inside a microwave kiln, that is itself placed inside a regular microwave oven. Referred to as a “microwave kiln”, it’s really just a “kiln container” designed to be used inside a regular microwave oven. They are made of rigid ceramic fiber with a silicone carbide inner liner. It’s the silicone carbide that absorbs the microwave energy and gets hot to over 1650 degrees. Photo 1, kiln base and lid The ceramic kiln material is lightweight. It can be easily damaged, but has extremely good thermal insulation properties. At just over an inch thick, a hot kiln remains cold enough to touch when the inside is at 1650 degrees. Photo 2, red hot kiln partially opened How To Get Started Photo 3, eBay kiln listings Photo 4, eBay kiln paper Photo 5, tools
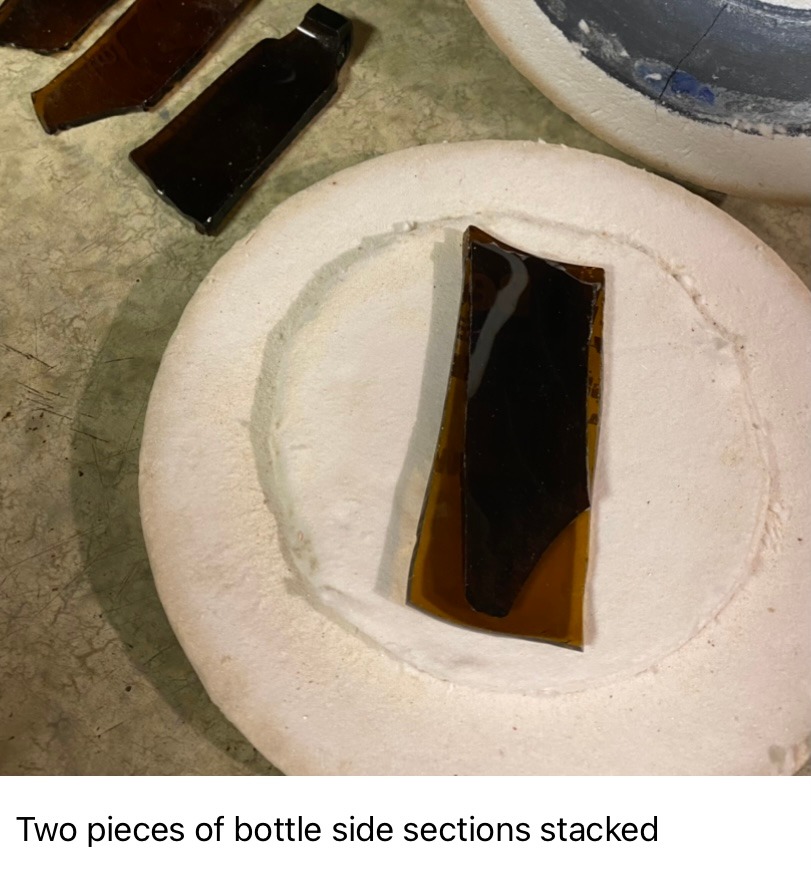
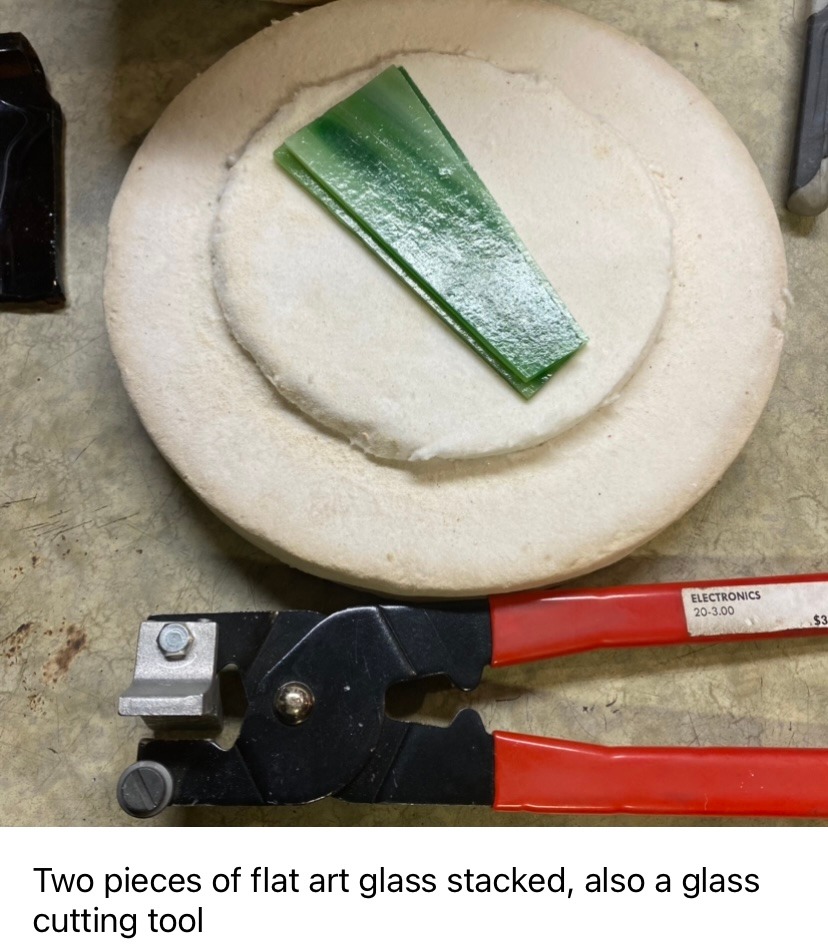
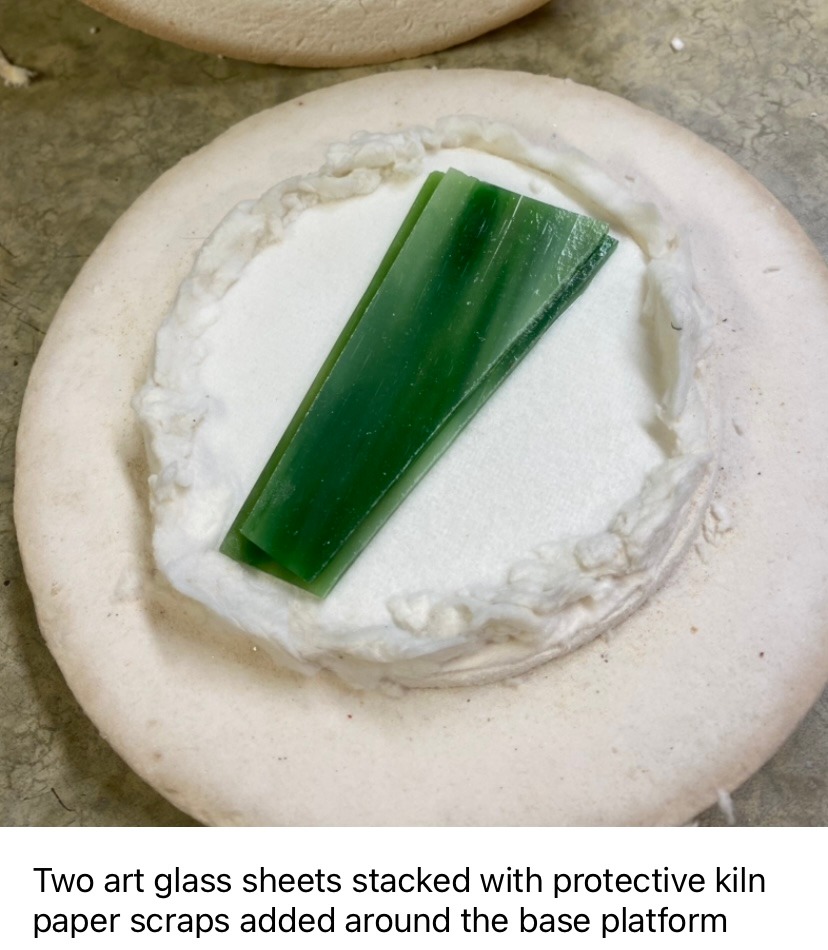
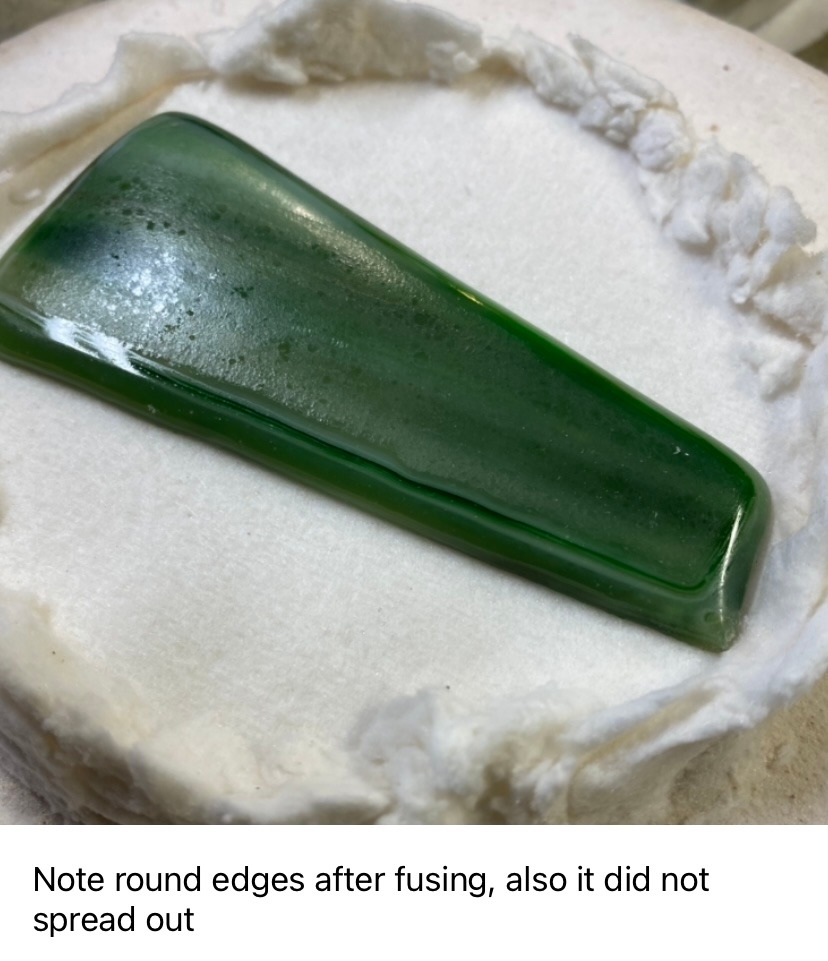
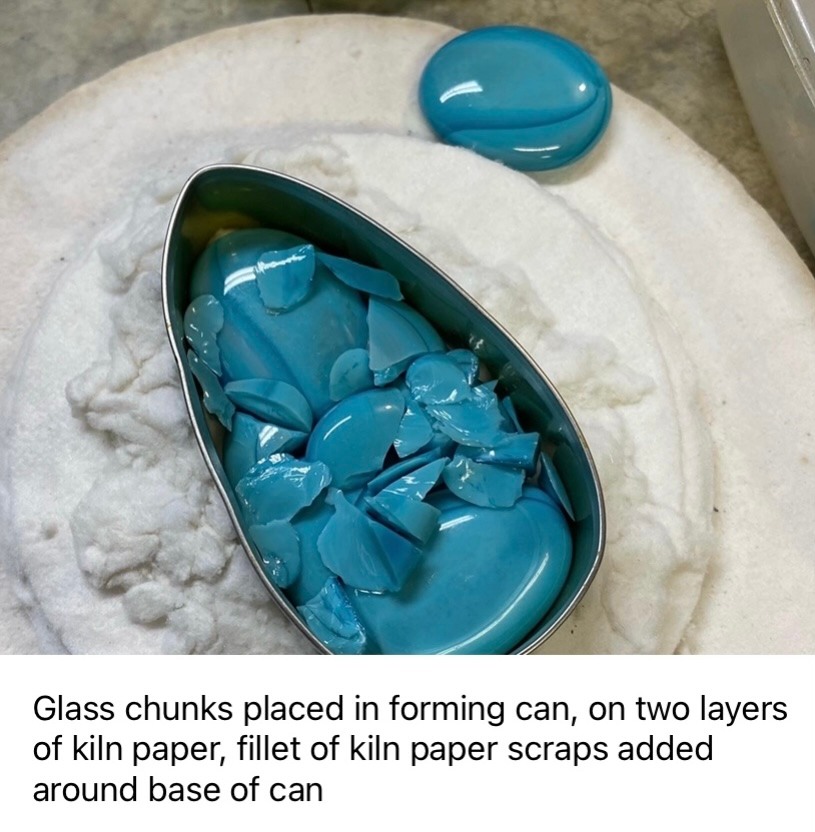
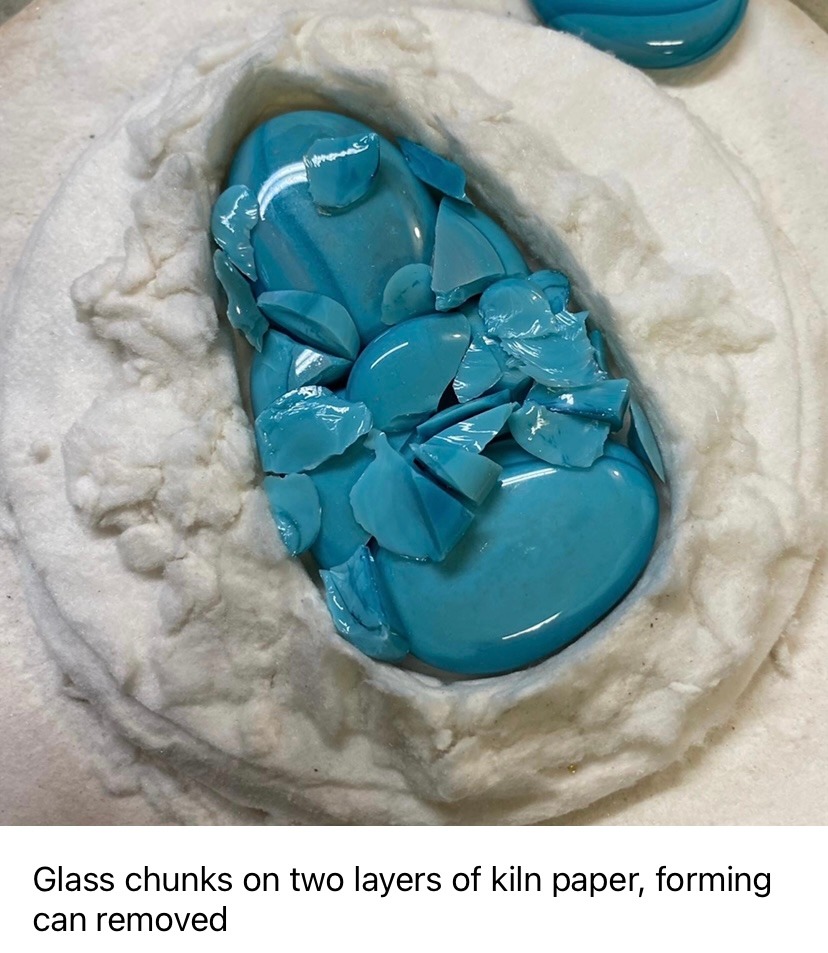
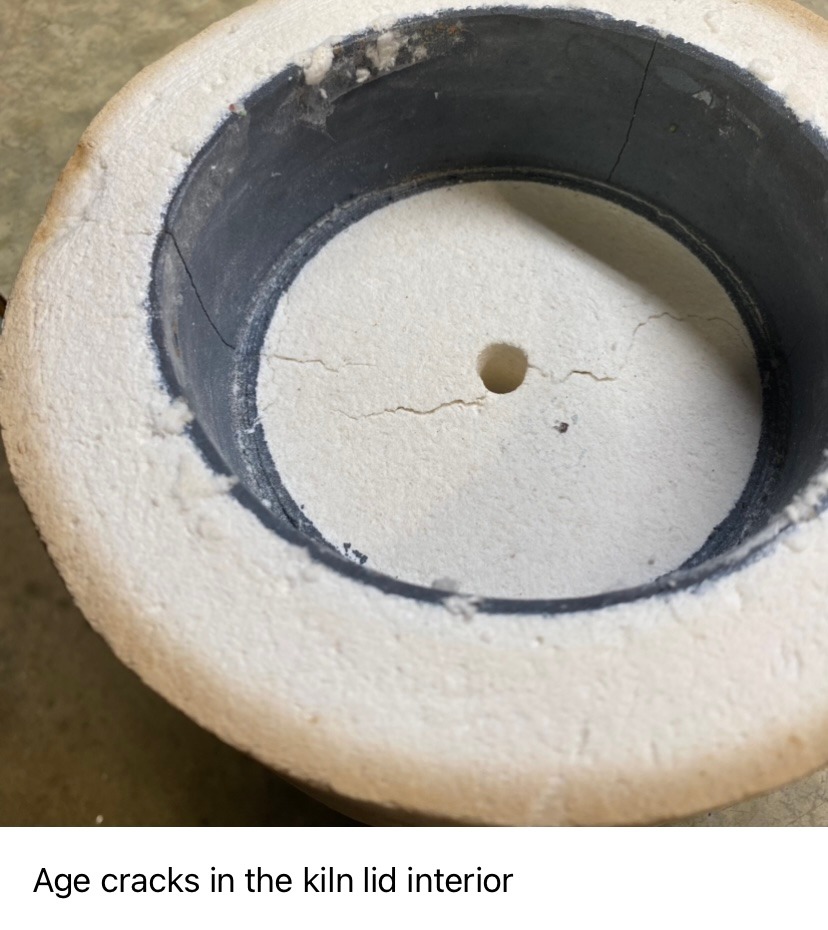
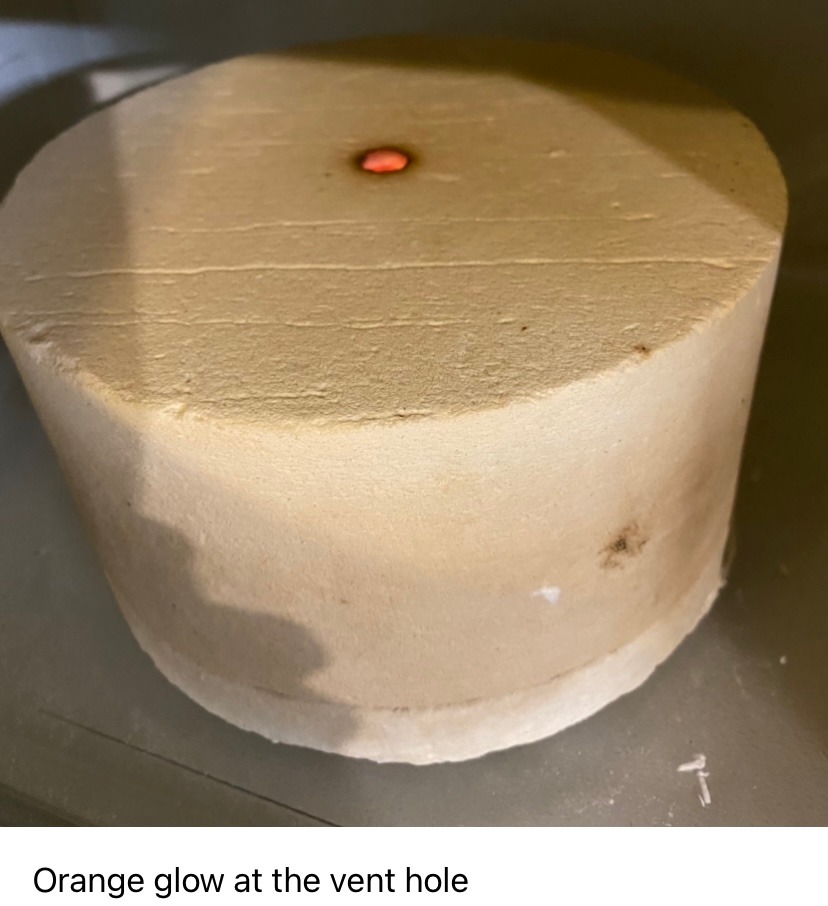
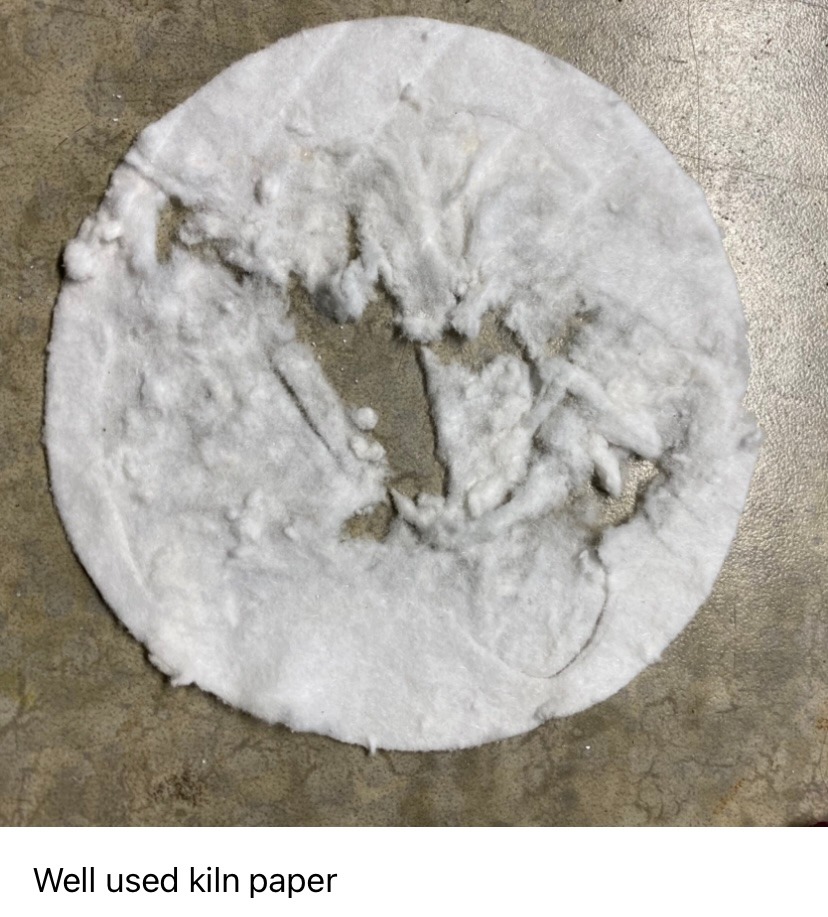
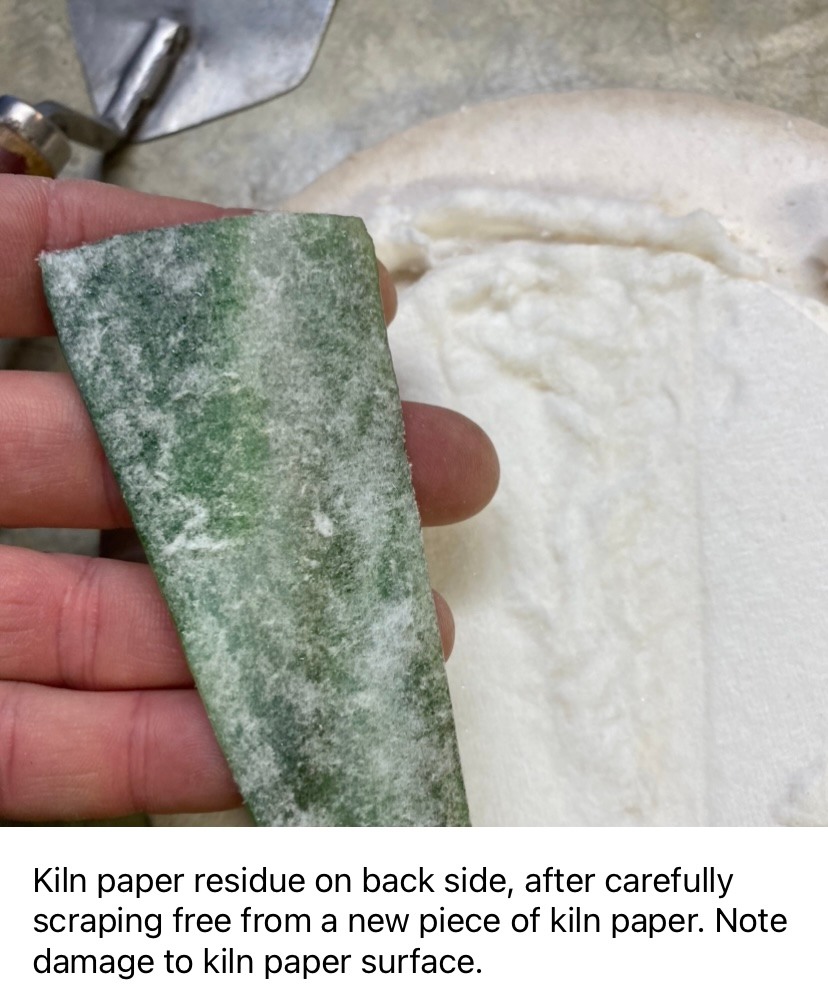
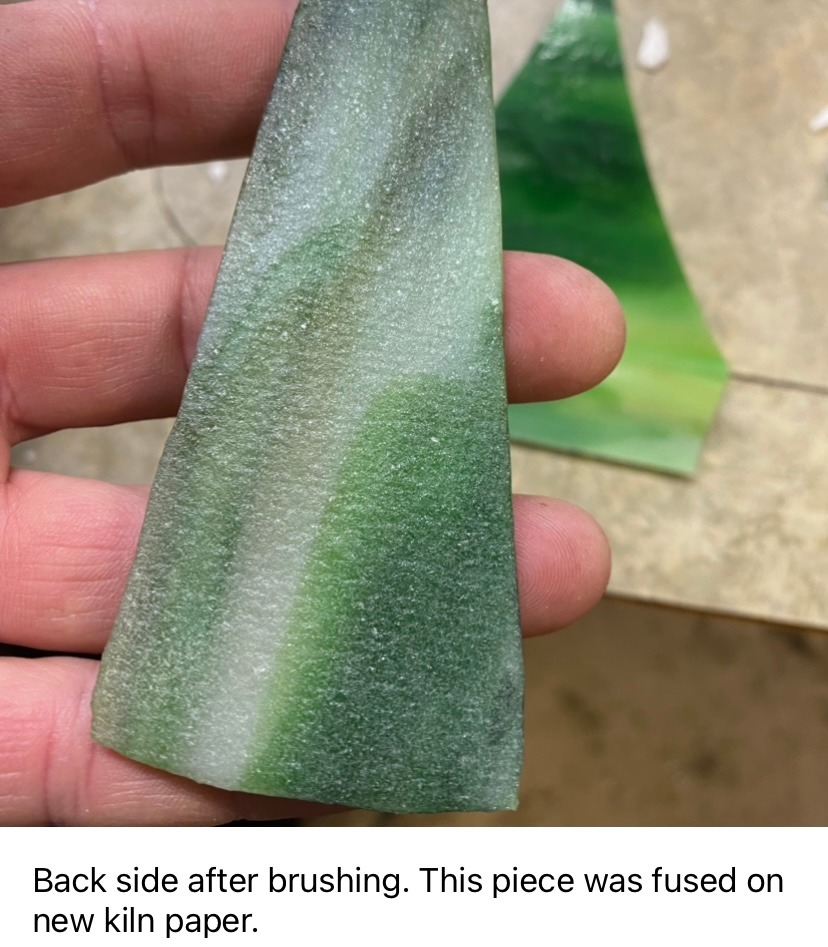
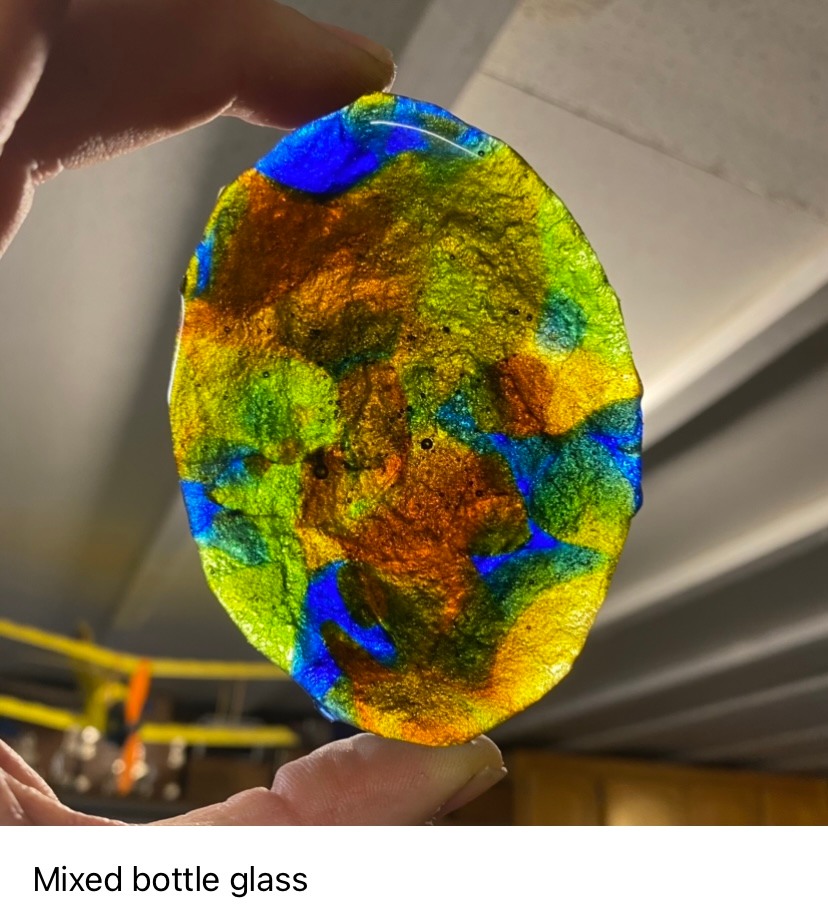
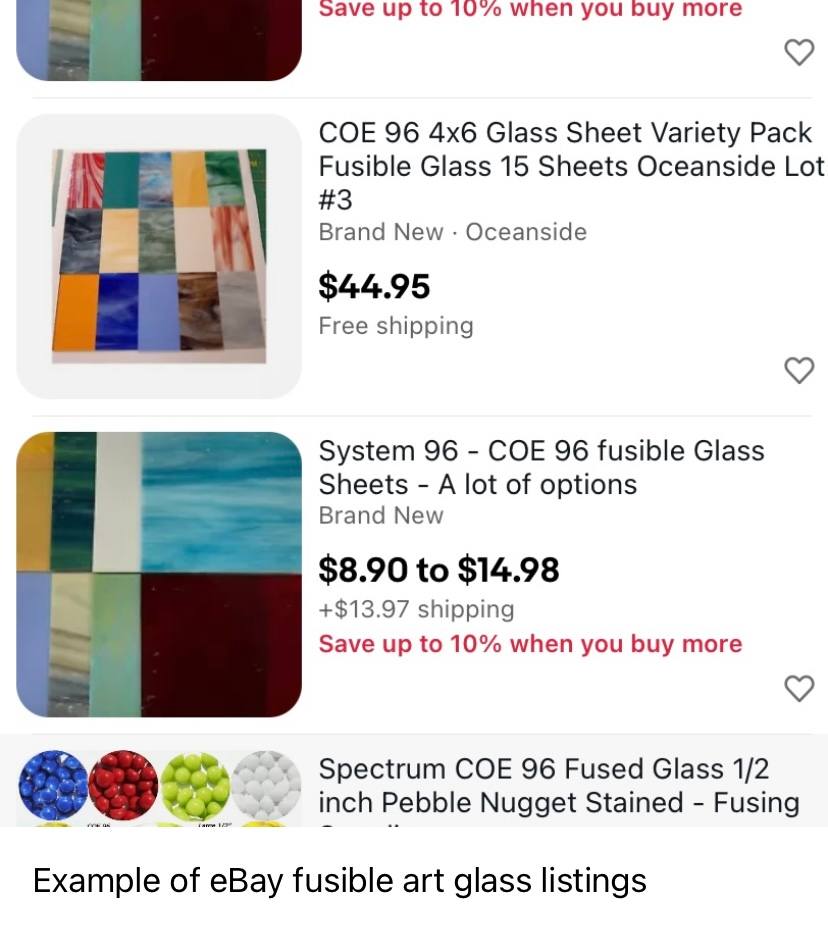
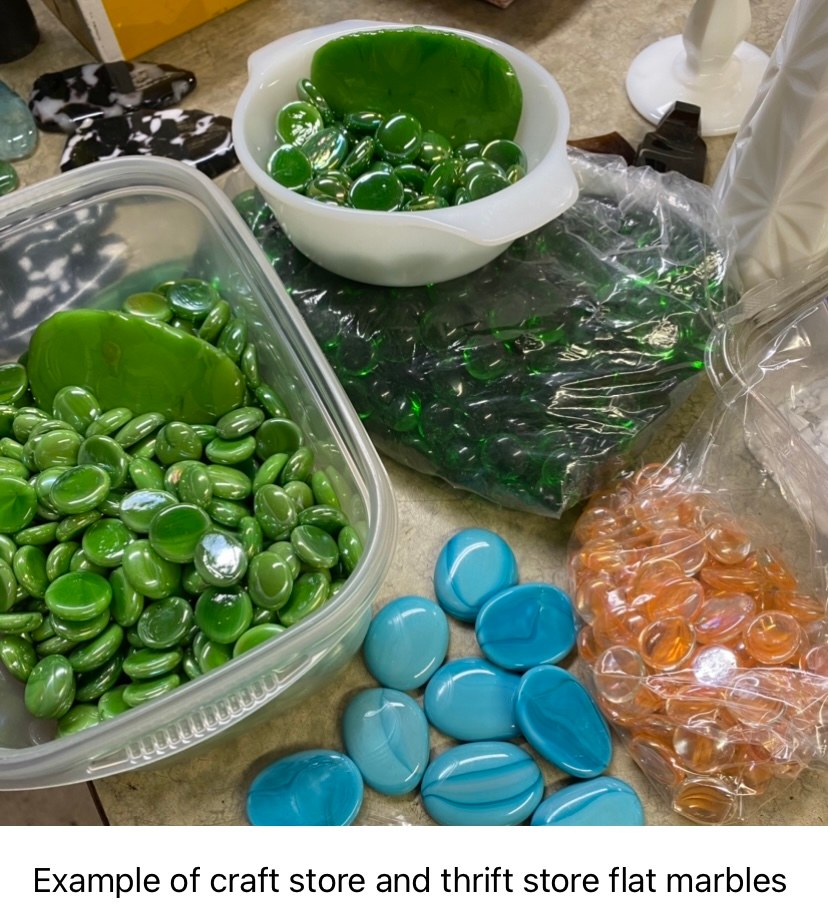
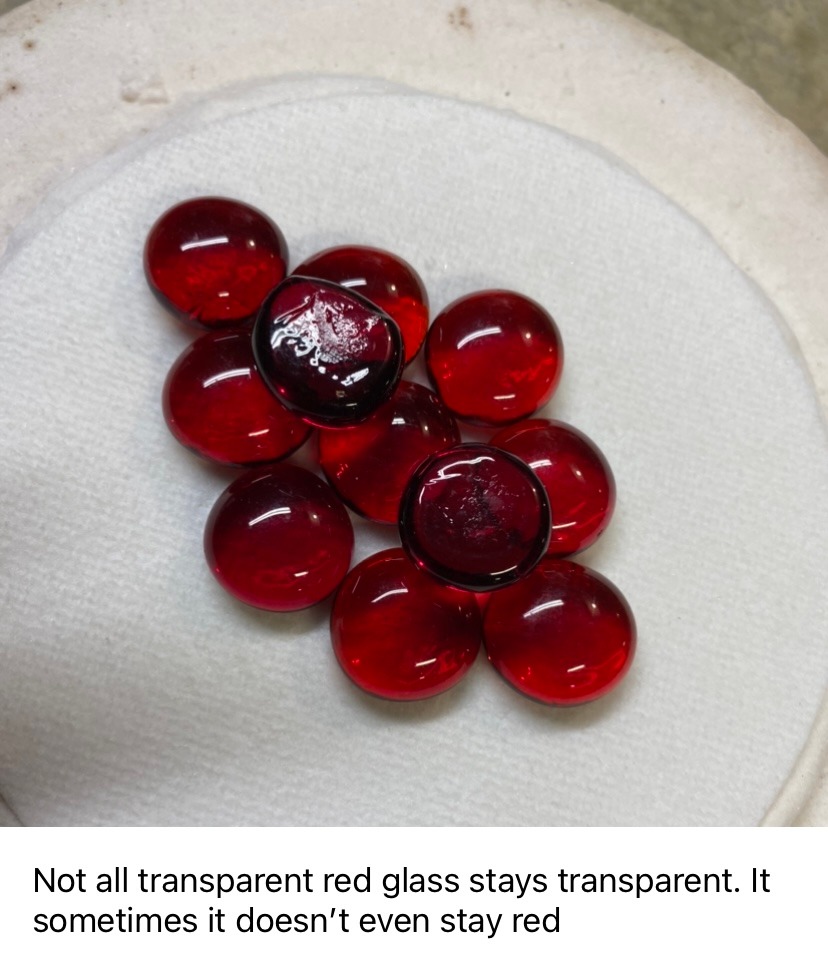
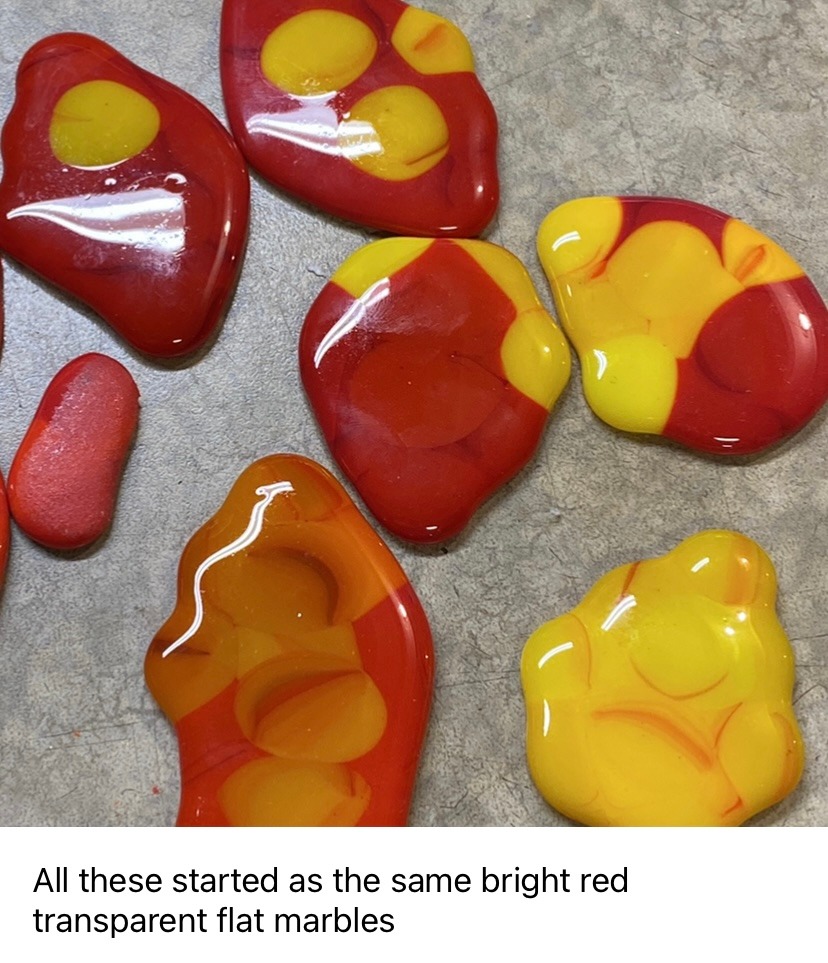
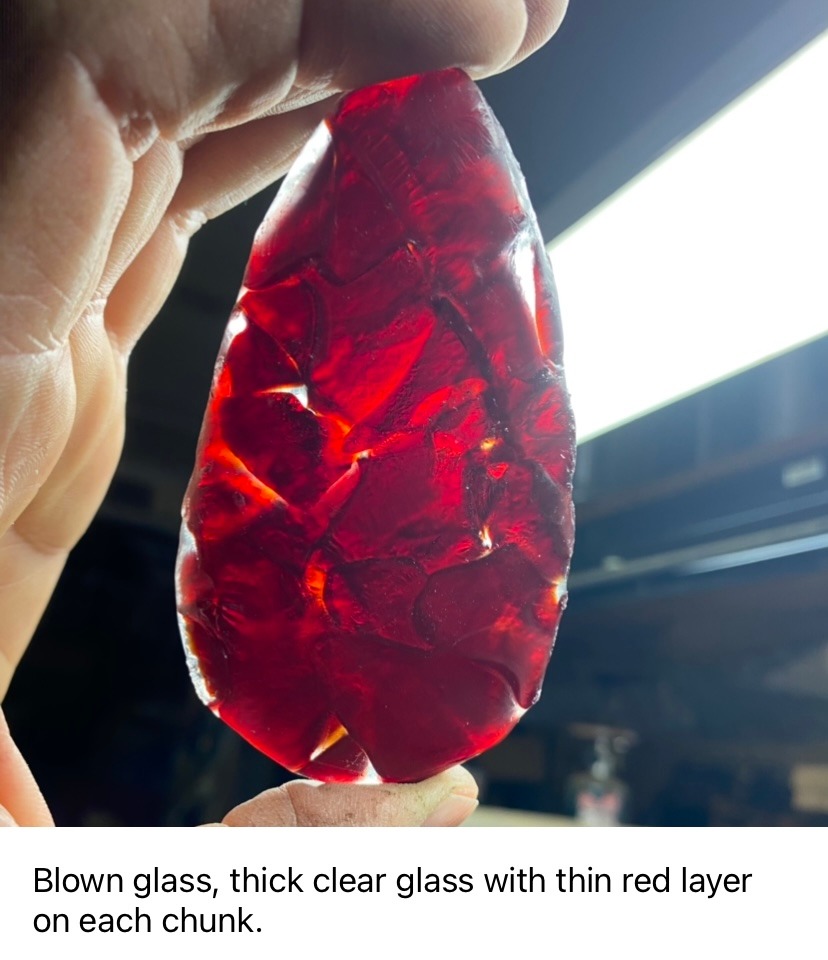
Different kinds of glass don’t always work together, experimentation is needed to test comparability. Incompatible glass will crack during cooling. Break up bottles, vases and such into chunks and bits. Flat sheets can be cut with a glass cutter into rectangles or triangles and stacked to 1/4 inch thick or more. Curved bottle side pieces can be nested together and melted flat. Photo 6, curved glass on base Photo 7, flat glass stack Glass cracking and shifting can happen when fusing together full length sheets or large bottle side sections. To avoid issues caused by shifting, add a fillet of kiln cloth scraps around the perimeter of the base platform to act as a bumper. Photo 8, flat art glass stack with fillet Photo 9, rounded edges Pile up glass chunks and chips up to 1/2 inch deep on the base of the kiln over a piece of kiln paper. Glass does not fuse to kiln paper but would stick to, and damage the kiln base if not covered with kiln paper. I use a section of steel can shaped like a tear drop to contain the glass chips and chunks while stacking. I also surround the can with a fillet of used kiln paper scraps to retain the glass bits after the can is lifted off. The fillet will also allow you to make blanks thicker than 1/4 inch. Don’t forget to remove the can. I placed a lanyard on my can to help prevent forgetfulness. A stinky mess happens the first time you leave the can in place. The finish will burn off a steel can and ruin your glass. Not sure what happens the second time. Aluminum cans will melt and burn. Don’t use aluminum cans. < Photo 10, glass pile in can with fillet around can Photo 11, can removed Place the kiln lid on, then place it in the microwave on high for between 15 and 20 minutes. Or move the kiln base with the glass on it, into the microwave before placing the lid on. That way you will know if the glass pile has shifted out of position during transport. Use two hands when picking up and moving your kiln base or lid, otherwise it could break in half, especially as it cracks with age. Photo 12, kiln age cracks Let it cool in the microwave for two hours minimum before removing. Open it up see what you ended up with. Photo 13, glow at vent hole If the lid is stuck, don’t force it. It means glass has cracked and shifted during heat up. If melted glass touches the wall it will stick to the wall and fill the gap between it and the base. Simply re-cook back to fusing temperature and lift off the lid while hot. The glass will separate like taffy, hopefully without damage to the kiln. Don’t set the hot lid down anywhere that can burn. Place it upside down, then place the base on it, glass side up, until it cools. The glass blank will adhere to the softened kiln paper. You can reuse the kiln paper several times if you carefully scrape most of the paper from the bottom of the glass with a small trawl. The paper gets thinner each usage. Eventually it will need patching from other scraps of used kiln paper. I like to use two kiln papers, one stays on the base to fully protect the surface and lasts a long time. The other can be smaller, and is reused until it can no longer be patched. Photo 14, well used kiln paper The glass blank will have kiln paper fibers adhering to its lower surface. Use a small wire brush to clear them off. Do the brushing outside, as it makes a lot of dust that can’t be good for your lungs. Photo 15, glass blank with kiln paper residue Photo 16, back side after brushing More Info “Water glass” (sodium silicate) can be used like glue to repair a damaged kiln. If you break your kiln in half, it can be glued with water glass and wrapped with cotton string. Coat the string with water glass and it will be stronger than original. I have not experienced any trouble mixing different colors of modern bottle glass, not yet anyway. Bottle glass seems to melt at a higher temperature than Art glass. Photo 17, bottle glass mix Not all white milk glass is the same. Molded milk glass flower vases seem to need more heat, and I have found some of them to be compatible with bottle glass. Art glass sheets, and blown milk glass are lower temperature glass and don’t fuse well with bottle glass. Photo 18, white milk glass examples Glass sold for fusing is relatively expensive, and will show its COE value. COE stands for Coefficient Of Expansion, and relates to melting temperature. COE 96 might be the most common. COE 96 glass is compatible with all other COE 96 glass. The other common COE valve is COE 90. Don’t mix the two and expect good results. Search eBay for COE 90 and COE 96. It’s available in 3mm (1/8 inch) thick sheets, nuggets and flat marbles of various sizes. Photo 19, eBay COE 96 sheets, nuggets > Lower cost art glass sheets 3mm thick, are sold in craft stores and are intended for use in stained glass crafting. No COE value is shown for this kind of art glass. Actual COE is probably variable outside of 90 and 96. Experimentation will be required to determine compatibility sheet to sheet. Craft stores also carry flat glass marbles and glass nuggets of various sizes, intended for vase filling and other craft work. No COE is shown, but they are relatively low cost. Note, some glass vase filling flat marbles have painted-on color, same as most cheap flower vases. Photo 20, flat marbles Be aware that color change occurs in some types of red glass. Nice transparent cranberry red dinner plate glass an flat marble glass can turn milky when fused. Sometimes not just milky red, but to milky orange, milky pink or yellow. Photo 21, red glass flat marbles before fusing Photo 22, red glass after fusing. As mentioned above, most blown glass art pieces include a lot of clear glass. Colored layers are thin, but intense. The clear glass layers can make for impressive fused results.
Photo 24, blue blown glass blank
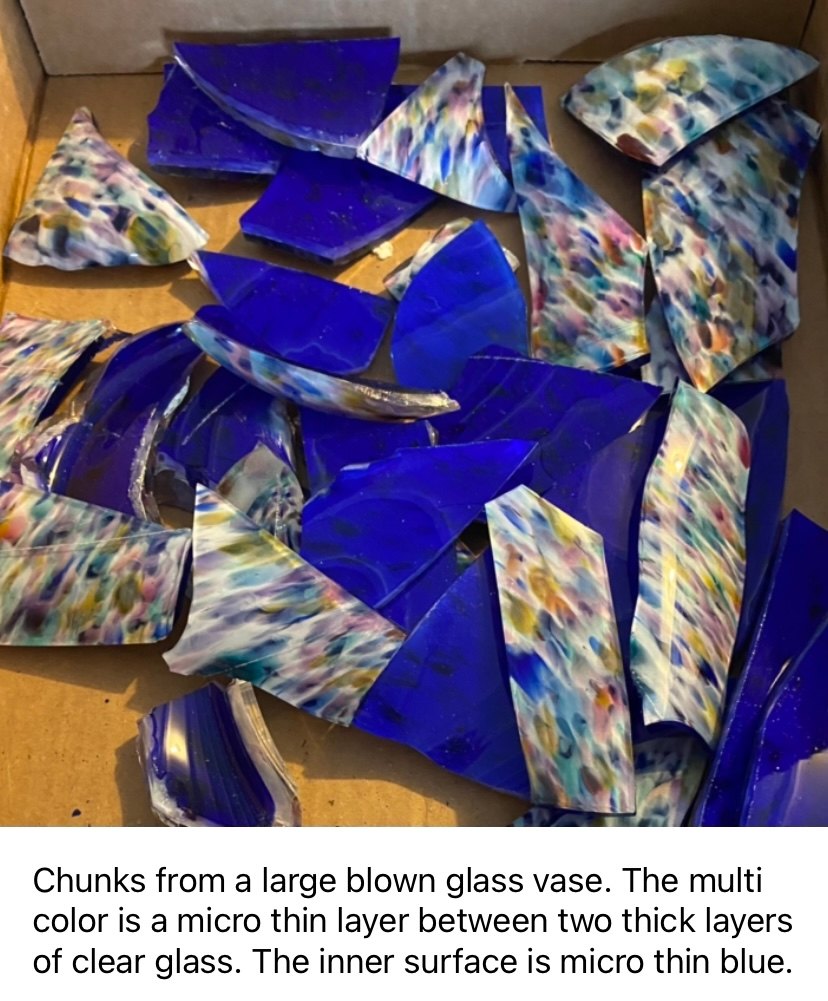
Photo 25, box of glass chunks
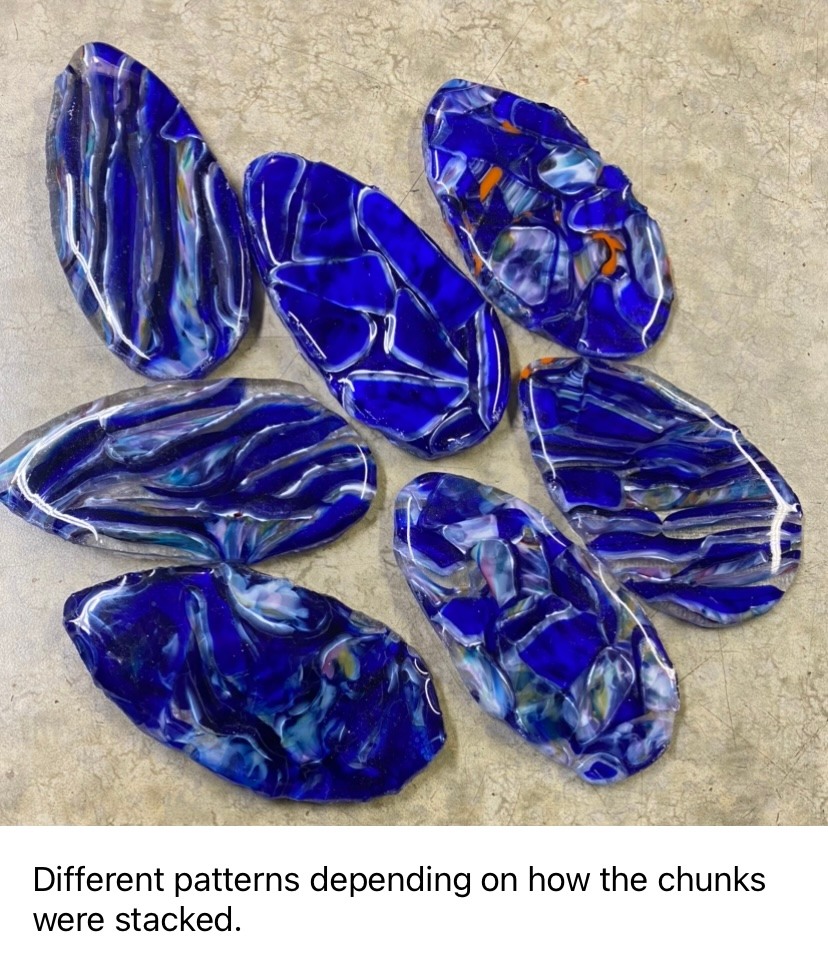
With art glass, blown glass and when mixing colored glass, many different patterns can be obtained depending on how the glass is cut, broken flaked or stacked.
Photo 26, pattern variety, same material, different stacking
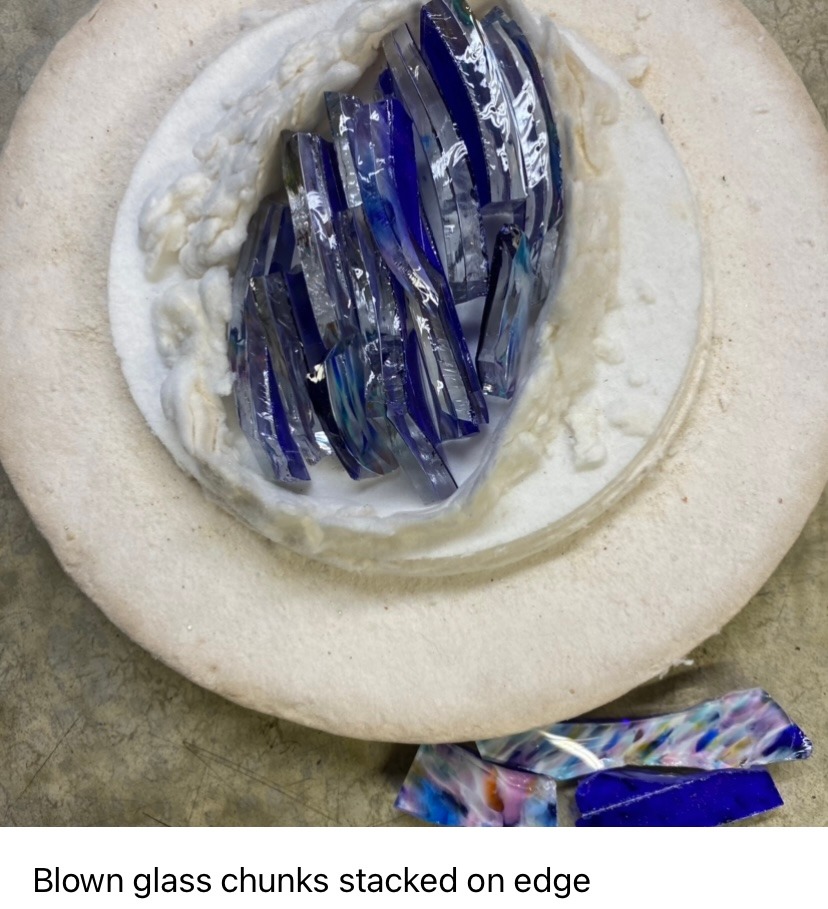
Photo 27, chunks stacked on edge prior to fusing All glass fuses to itself regardless of unknown COE and possible incompatibility with other glasses.
Chunks, flakes bits and pieces from the same source can always be fused together to make knapping blanks of appropriate thickness and size. have had some success lately using a small amount of talcum powder on the kiln paper to help keep the glass from sticking (in order to get even more use out of each piece).
I have also experimented using a concave soapstone slab with some success. The soapstone is unaffected by the kiln heat, and glass that’s not boiled does not stick to it.
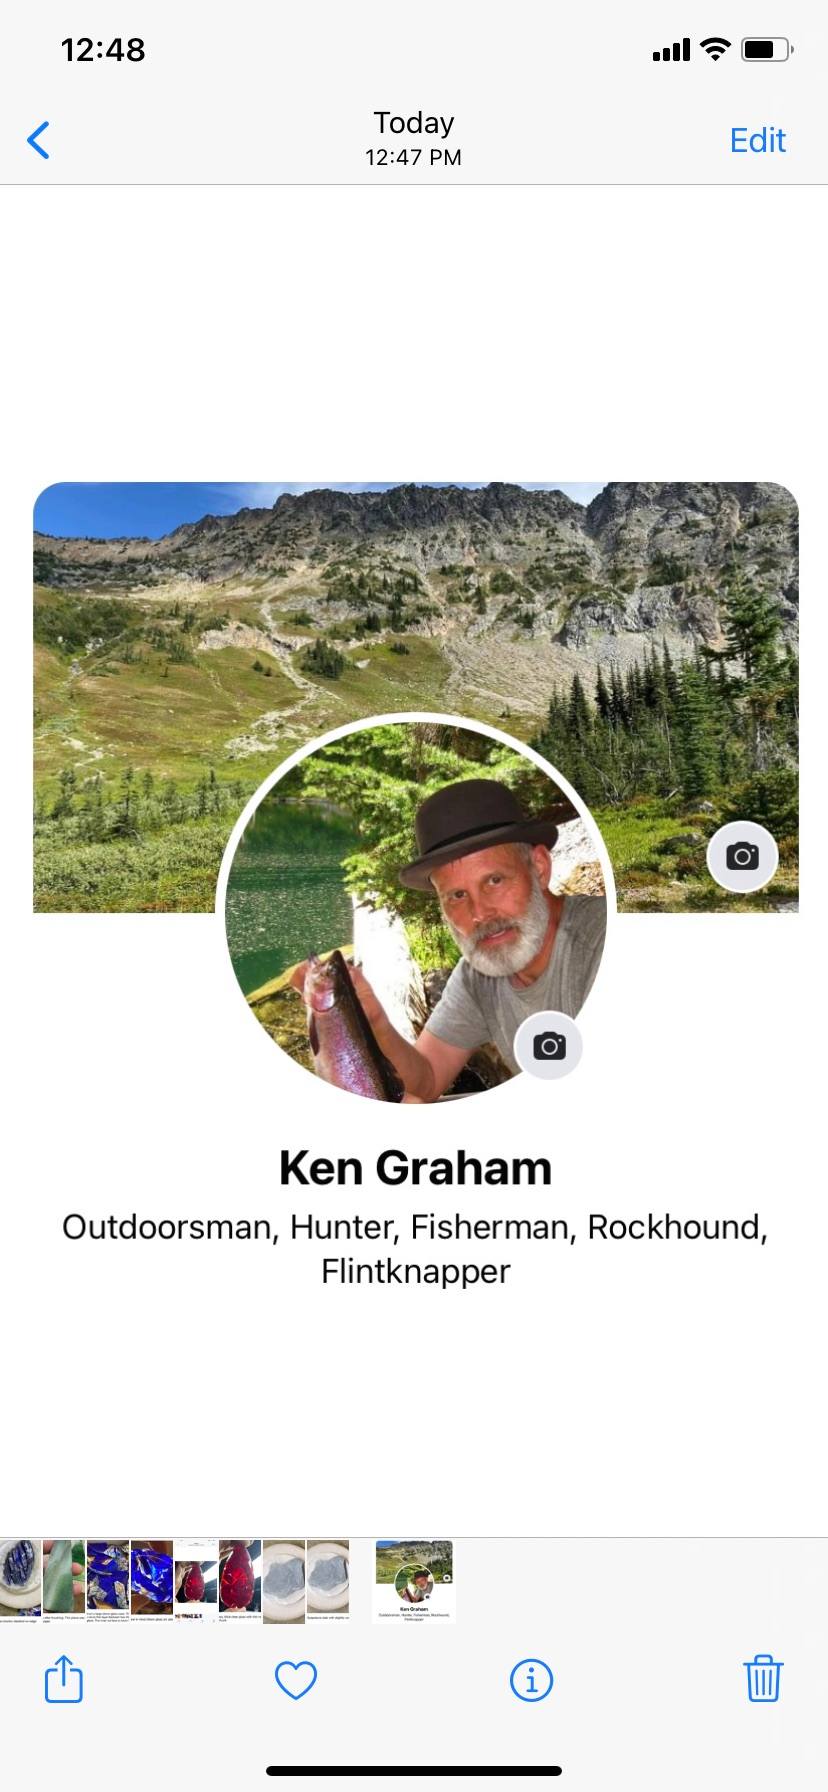
Photo 28, soapstone Check my Facebook posts on Flintknapping, Art of Flintknapping, and Puget Sound Knappers group for more photos.
Photo 29, Facebook screenshot |
|
©2010 J Keffer |